
The Art of Canning and Preserving
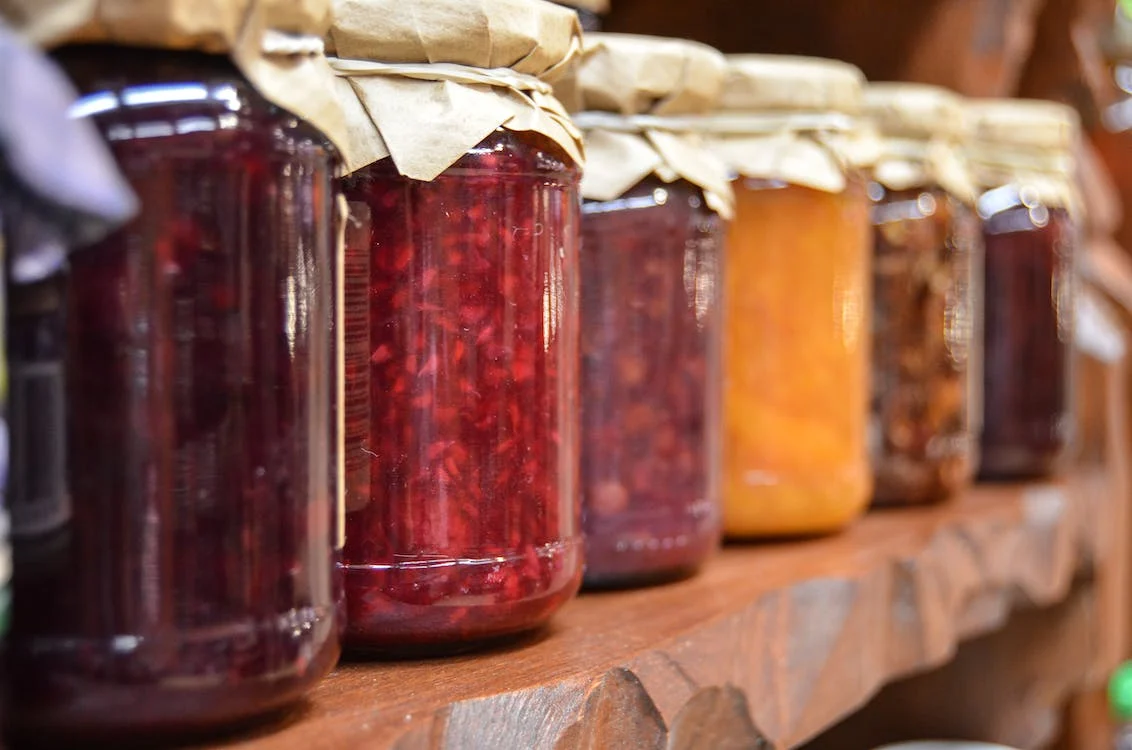
Why limit yourself to enjoying fruits and vegetables only when they're in season? Instead, embrace the timeless technique of canning, which empowers you to savor your preferred seasonal produce throughout the entire year.
Long before the advent of can-sealing machines, individuals routinely utilized glass jars to safeguard their food supplies within their homes. However, canning and preserving is not exclusively reserved for older generations donning aprons; it's a skill accessible to anyone keen on preserving their own food. In fact, canning is experiencing a resurgence thanks to the increasing enthusiasm for healthy eating and cultivating one's food among the general public.
What Is Canning?
Canning is a preservation method that involves sealing food in jars and subjecting it to high temperatures. This process serves two crucial purposes: it kills microorganisms and inactivates enzymes that can cause food to spoil, and it creates an airtight vacuum seal. First, the prepared food is placed in sterilized jars, and lids with sealing compounds are tightly secured. Then, the jars are heated, either by boiling water or pressure canning, to destroy any potential spoilage agents. As the jars cool, the contents contract, creating a vacuum seal that prevents air and microorganisms from entering, effectively preserving the food for an extended period without refrigeration. Canning allows for year-round enjoyment of seasonal produce and homemade delights while ensuring food safety and longevity.
There are two primary home canning methods available:
1. Water Bath Canning:
This method involves canning foods at a lower temperature and is particularly suitable for items with high acidity levels. It is highly recommended for preserving fruits, tomatoes, pickles, chutneys, sauces, pie fillings, and various condiments. The key factor here is the acidity content, as high-acid foods can naturally inhibit the growth of harmful bacteria and microorganisms. The water bath canning process typically involves immersing sealed jars in a large pot of boiling water for a specified period, effectively sterilizing the contents and ensuring safe long-term storage.
Quick Water Bath Canning Guide:
- Wash and sterilize jars by simmering them in hot water for 10 minutes. Place lids in hot water too. Keep jars and lids hot until ready to use.
- Fill each jar with food, leaving a ¼-inch space at the top.
- Remove air bubbles with a chopstick or skewer.
- Wipe jar rims, screw on lids, and use a jar lifter to place them in the canner, ensuring they don't touch.
- Cover the jars with 1 inch of water in the canner.
- Heat to a rolling boil, then boil for 10 minutes (adjust based on your recipe).
- Remove jars and let them cool. Listen for the ping sound as the lid seals.
- Test seals by pressing the lid center. Store sealed jars in a cool, dark place for up to a year. Unsealed jars can be refrigerated and used within three days or reprocessed within 24 hours.
2. Pressure Canning:
Unlike water bath canning, pressure canning employs higher temperatures to preserve low-acid foods safely. This method is essential for meats, poultry, vegetables, chili, and seafood, which have a lower acidity level and require more intense heat treatment to eliminate the risk of botulism and other bacterial growth. It's important to note that the USDA recommends the use of a dedicated pressure canner for this method, as pressure cookers may not consistently achieve the necessary temperatures and pressures to ensure food safety. Various pressure canner models are designed specifically for canning, providing reliable results in the preservation of low-acid foods.
Quick Pressure Canning Guide:
- Wash and sterilize canning jars, keeping them hot until use. Heat lids in hot water.
- Fill jars with food, leaving appropriate headspace, and remove air bubbles using a non-metallic utensil.
- Wipe jar rims, secure lids, and use a jar lifter to place them in the pressure canner.
- Ensure the jars do not touch, and adjust the water level if needed.
- Secure the canner lid and vent according to the manufacturer's instructions.
- Heat the canner until steam escapes steadily, then allow it to vent for 10 minutes.
- Place the pressure regulator or weight, and reach the recommended pressure for your altitude.
- Start timing the process, maintaining the pressure. When the processing time is complete, turn off the heat and let the canner depressurize naturally.
- Carefully open the canner, remove the jars, and let them cool. Listen for lid pings indicating proper sealing.
- Test seals and store sealed jars in a cool, dark place for up to a year. Unsealed jars can be refrigerated and used within three days or reprocessed within 24 hours.

5 Tips for Successful Homemade Canning:
- Opt for Fresh Produce: Using fresh, high-quality produce is paramount when canning. The best time to can fruits and vegetables is when they are at the peak of ripeness, as they contain the most flavor and nutrients. Avoid using bruised or overripe produce, as it may compromise the quality of your canned goods.
- Boiling Water Bath or Pressure Canner: The choice between a boiling water bath and a pressure canner depends on the acidity of the foods you're preserving. Acidic foods like pickles, preserves, and tomatoes can be safely canned using a boiling water bath. This method involves submerging sealed jars in boiling water to create a vacuum seal. However, non-acidic foods such as soups, vegetables, and meats require a pressure canner because they need higher temperatures to eliminate the risk of bacterial growth. Pressure canners are specifically designed to reach and maintain these higher temperatures.
- Fill Jars While Hot: To ensure a successful seal, it's crucial to fill the canning jars with hot food. This helps maintain the desired temperature throughout the canning process. Fill each jar one at a time, leaving the recommended headspace at the top to allow for expansion and a proper seal. After filling a jar, return it to the simmering water or a warm environment until you're ready to seal it.
- Listen for Sealing: A key indicator of a successful canning process is the distinctive popping sound that occurs when the jar properly seals. As the jar cools, a vacuum is formed, pulling the lid downward and creating an airtight seal. The popping sound signifies that this seal has occurred, providing confidence that the contents are safely preserved. However, if a jar does not seal, you can either refrigerate its contents for short-term use or reprocess it with the appropriate headspace to achieve a proper seal.
- Avoid Overfilling Jars: It's important to follow the recipe's instructions regarding headspace, which is the gap between the surface of the food and the rim of the jar. Overfilling jars can lead to improper sealing because there won't be enough room for the vacuum to form. Proper headspace ensures a secure seal and prevents food from coming into contact with the lid, which could interfere with the sealing process. If you inadvertently overfill a jar and it doesn't seal, adjust the headspace and reprocess it to achieve the desired seal and preserve the contents effectively.
Conclusion
Making your own canned goodies is all about paying close attention to the little things. It starts with picking the freshest produce and choosing the right canning method based on what you're preserving. Then, it's about going through each step with care, from filling the jars just right to making sure the lids seal properly. The real reward comes when you get to enjoy these preserved treats with your loved ones. Whether it's a delicious jar of homemade jam for breakfast or a comforting stew with canned veggies in the wintertime, it's about creating special moments and flavors to share with the people who mean the most to you. So, follow these steps carefully, and not only will your canned goods be safe and tasty, but they'll also bring joy to your life and the lives of those you care about.